Thought I would share something I did when we first moved into our home. We added an addition off the back of the house, to be used as a sun/family room, in which we added a woodstove as well. Since there would be the woodstove we thought the room could use a bit more of a rustic look and so I wanted to add a plank floor, something like this which I had seen in someone else's home.

After calculating the cost for even a simple pine floor with 1 x 12 boards I decided it would be too much money. I decided to try to reuse a bunch of old 1x's instead, all different lengths, widths, colors, and types of wood.
How it originally looked after it was completed:

How it looked during the construction of built in window seats/storage:

The floor wasn't really all that hard to do. I sorted all my 1x's according to widths so that all runs would have the same dimension wood. Then I started to nail them down with square head nails to give it that more rustic look.
Once nailed I rented a large floor sander and sanded about 5 times with different grit of sandpaper until all the wood was level and smooth on top.
Once sanded I used bulls eye oil based poly and a roller to apply. I put about 8 coats on to give it a strong durable finish.

The floor has been used for about 5 years now and still looks great and is holding up wonderful.
In all the floor cost me about $150 for the poly and sander rental.
The sunroom gets quite a bit of use and will soon be opened up to our new playroom/schoolroom which is under construction now.
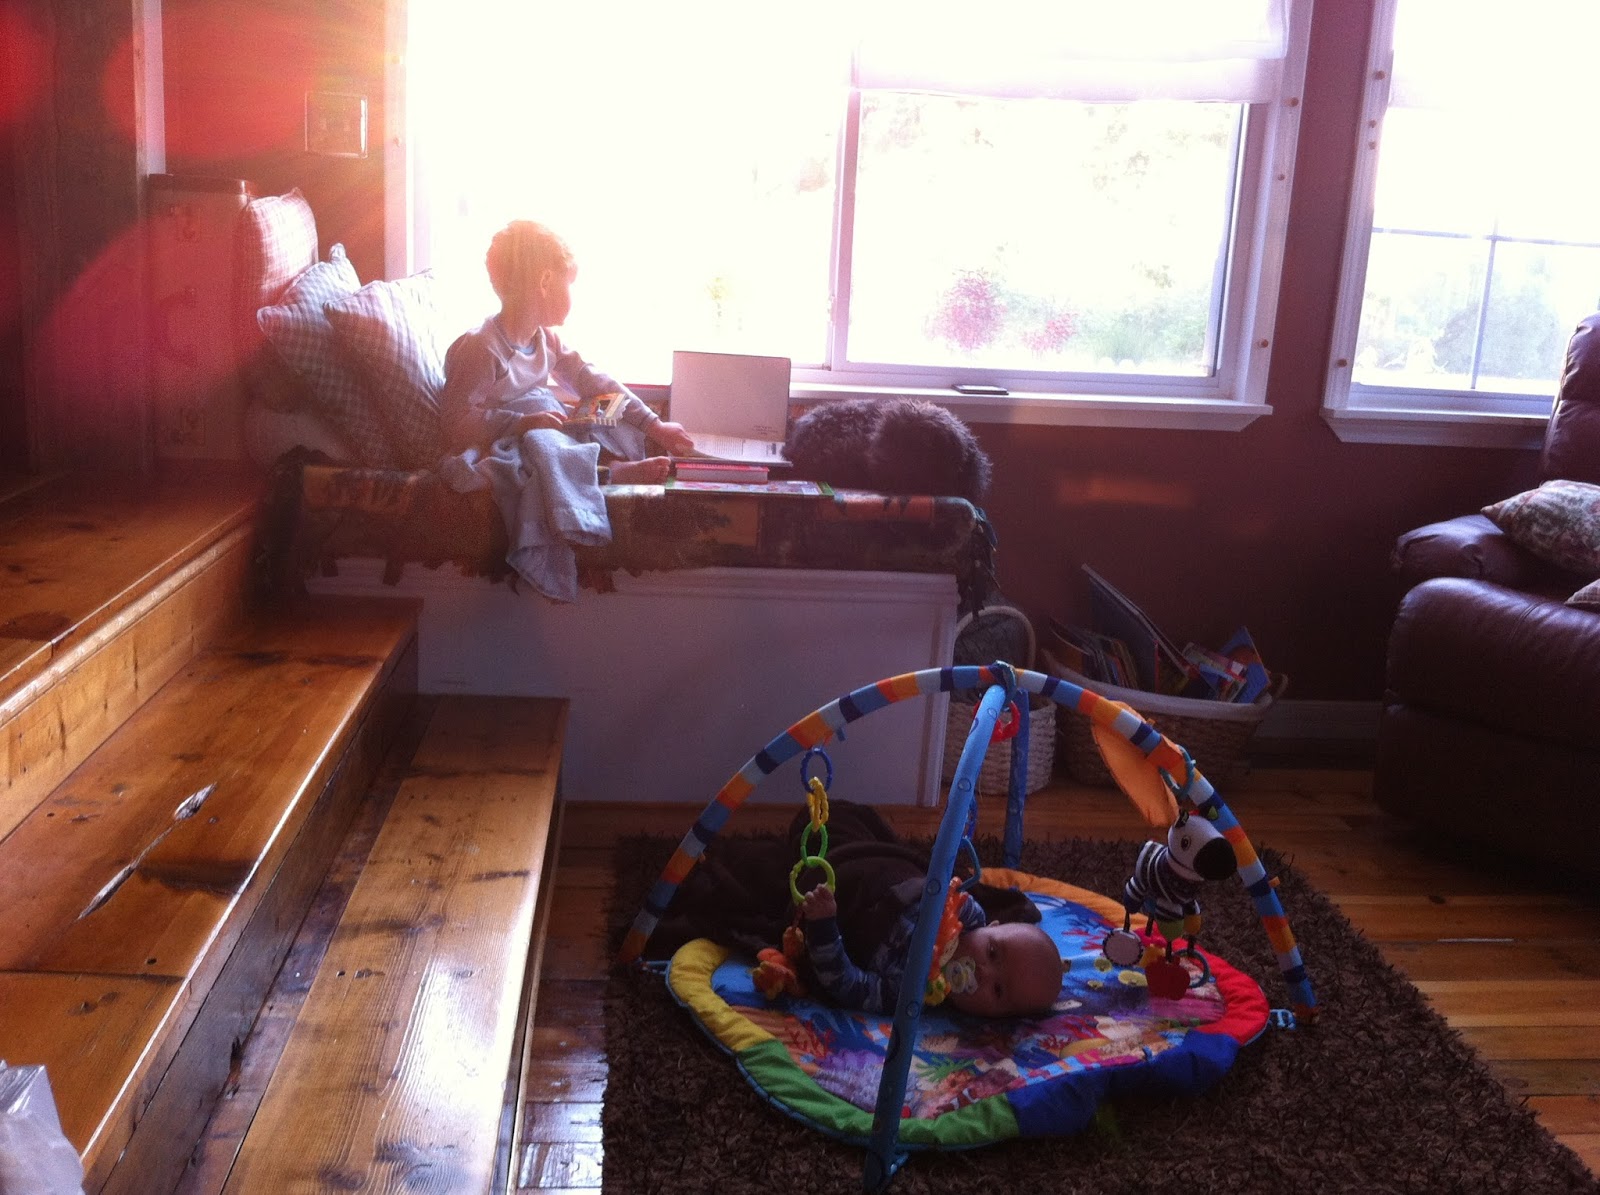


The boys love to help daddy with, well, pretty much anything...
No comments:
Post a Comment