This is the one she had seen.

She wanted the basic idea with these additions; allow the stool to be able to slide under and add a drawer or two.
The Stool:
The idea I had for the stool was like the old piano stools that swiveled. Growing up we had one that screwed in and out for height. I remember as a kid it was so much fun to spin on. As this desk would be for a young boy I thought it would work well.
I would have to make it from scratch as I didn't have time to go and find one to repurpose.
I was going for a look something like this:

I had a large bolt and nut that would work perfect. I welded a plate that would attach to the bottom of the wood seat and to the bolt.

I then welded the nut to a section of pipe that was long enough to hide the bolt when screwed all the way down.


For the legs I cut some pipe to 45 degree angles and then ground them out to the contour of the pipe so they would sit flush. I then welded them to the nut/pipe section.

I then used Rust-oleum Hammered Bronze paint to paint the pieces.


For the seat I used a nice thick piece of walnut I had been saving for a few years. I cut it to size, shaped the seat slightly so it would be more comfortable to sit on, sanded progressively lighter, and then used a satin spray lacquer for the finish, 6 coats.


Once it was dried I then attached all the pieces together and here is the finished stool:


The Desk:
The dimensions she wanted were, 42" wide x 26" deep x 30" tall.
I started with the frame. I used some 1"x2" steel tubing.
I didn't show the steps in making this but it was pretty straight forward. I made the sides first, 45 degree angles welded. I made a jig so that these would be exactly square in case my cuts were a bit off as can happen with a chop saw.
The welded base:

Next I began work on the top. I had some wood that I originally used on a TV cart but I didn't like the cart that much so I tore it apart. It was old oak, over 100 years, that was used in a families homestead that I had picked up a few years back.
The failed table:

I ran the wood through a planer and jointer and then cut it to size. I biscuit joined and glued each edge and then clamped for a few days.


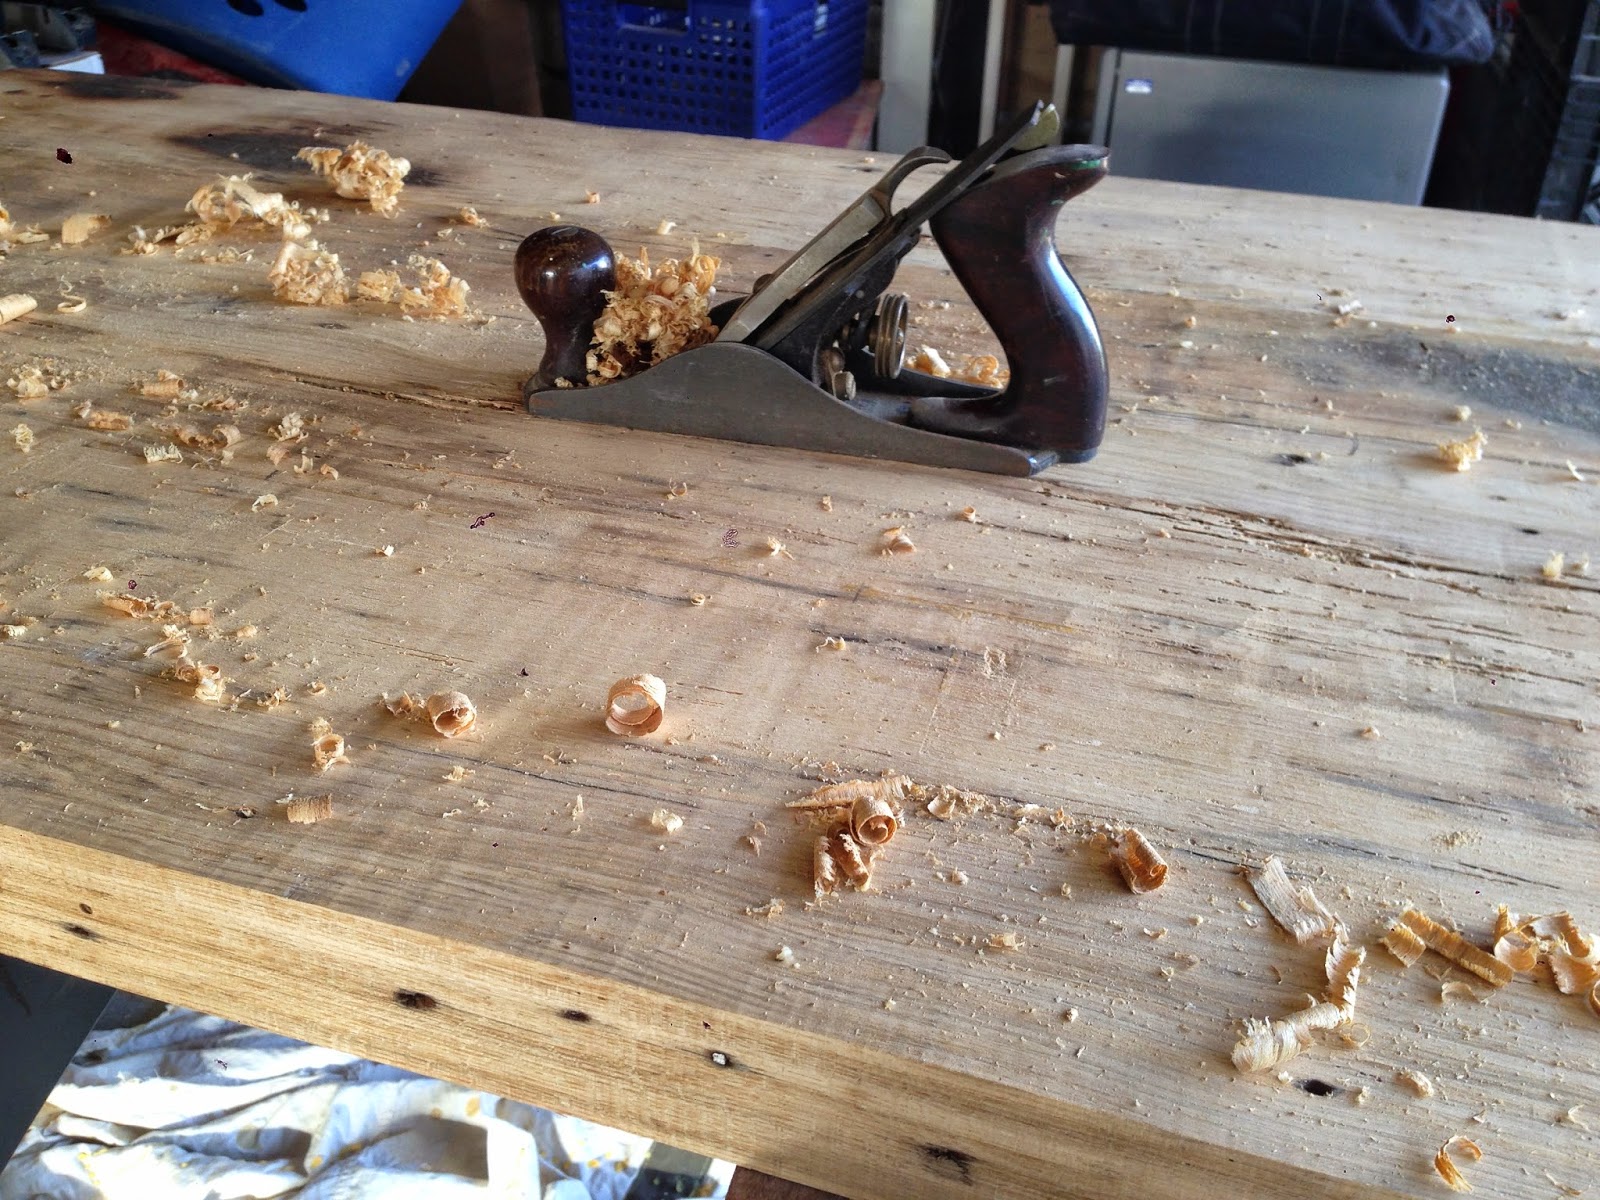
After it had dried I removed the clamps and then did some hand planing.
Since this was going to be a desk I filled all the old nail holes and gauges with Elmer's sandable wood filler and let it dry.
I then sanded with a power sander with two different grits then moved on to sanding by hand with two less aggressive grits.


For the drawer I found what I thought would be perfect. I was at an antique store and found this crate:

This was perfect as the boys name is, Carter.
I installed this to the bottom of the desk with some drawer slides.
The finished products:


Nice work Micah
ReplyDeleteThanks Bob. I really enjoy doing this type of work.
ReplyDelete