In order to make a genuine log bed I needed a special tool for the tenon joints. I researched several of the tools for making a log bed and in the end bought the Logman X Pro 1, http://www.logcabintools.com/log-x-pro-1.html.
The wood for the bed, cedar, is all around where I live. I already had the majority of the wood cut but needed some "green" wood (wood that was freshly cut down).
Once I had all the pieces selected I began to strip the bark. There are several ways to do this but the easiest I have found is with a power washer. Simply spray the wood off with the pressure of the water and the bark easily comes off.
Some of the wood stripped.
All the wood ready to be cut.
I began with the headboard.
I laid it out for a queen size bed and screwed temporary boards to keep it at the correct measurement.
I cut the boards to go across 6 inches longer (3 inch tenons on each side) and then drilled holes to receive the tenons.
Straps were used to keep it tight while I measured and cut the vertical pieces.
Each pice needed to have the rough spots cut, sanded, and then an overall sanding. This process took some time. Depending on the piece of wood I used a variety of tools - bandsaw, grinder, or a Japanese saw.
After all pieces were cut, sanded, and holes drilled, I dry fit the headboard.
Next, it was glued together.
Once it was glued I used the straps again to keep it clamped together over night.
I repeated the process for the footboard.
After two days of drying I drilled, glued, and inserted dowels at the main tenons to add strength to the bed.
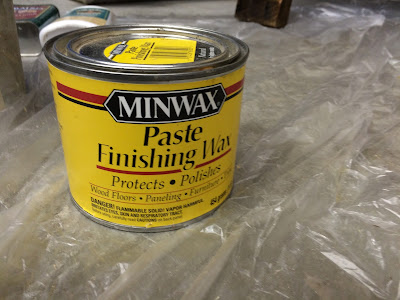
I left the bed with a natural finish only adding a wax to it.
A few finished pictures of the bed.
A picture from my friend of the bed in their home.
This was a challenging project but I was happy to do it for some great friends.


