Saturday, October 10, 2015

Cedar Log Bed

Some friends asked me to make them a log cedar bed to which I was more than happy to give it a try. I have made several beds but a log bed would be a first.

In order to make a genuine log bed I needed a special tool for the tenon joints. I researched several of the tools for making a log bed and in the end bought the Logman X Pro 1,  http://www.logcabintools.com/log-x-pro-1.html. 


The wood for the bed, cedar, is all around where I live. I already had the majority of the wood cut but needed some "green" wood (wood that was freshly cut down). 

Once I had all the pieces selected I began to strip the bark. There are several ways to do this but the easiest I have found is with a power washer. Simply spray the wood off with the pressure of the water and the bark easily comes off.

Some of the wood stripped.


All the wood ready to be cut.


I began with the headboard. 
I laid it out for a queen size bed and screwed temporary boards to keep it at the correct measurement. 


I cut the boards to go across 6 inches longer (3 inch tenons on each side) and then drilled holes to receive the tenons.

Straps were used to keep it tight while I measured and cut the vertical pieces.


Each pice needed to have the rough spots cut, sanded, and then an overall sanding. This process took some time. Depending on the piece of wood I used a variety of tools - bandsaw, grinder, or a Japanese saw.


After all pieces were cut, sanded, and holes drilled, I dry fit the headboard. 


Next, it was glued together.

Once it was glued I used the straps again to keep it clamped together over night. 


I repeated the process for the footboard.


After two days of drying I drilled, glued, and inserted dowels at the main tenons to add strength to the bed. 

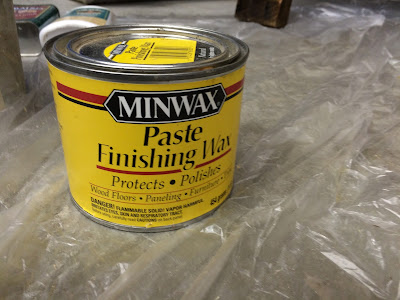
 I left the bed with a natural finish only adding a wax to it. 


A few finished pictures of the bed.


A picture from my friend of the bed in their home.


This was a challenging project but I was happy to do it for some great friends.


Wednesday, May 7, 2014

Custom Desk and Chair

A while back a friend asked me for a custom desk and stool for her grandson.  She had seen one in a store that she liked and just wanted a few things improved on it.

This is the one she had seen.


She wanted the basic idea with these additions; allow the stool to be able to slide under and add a drawer or two.

The Stool:

The idea I had for the stool was like the old piano stools that swiveled.  Growing up we had one that screwed in and out for height.  I remember as a kid it was so much fun to spin on.  As this desk would be for a young boy I thought it would work well.

I would have to make it from scratch as I didn't have time to go and find one to repurpose.

I was going for a look something like this:


I began by making the screw section.

I had a large bolt and nut that would work perfect.  I welded a plate that would attach to the bottom of the wood seat and to the bolt.


I then welded the nut to a section of pipe that was long enough to hide the bolt when screwed all the way down.  


For the legs I cut some pipe to 45 degree angles and then ground them out to the contour of the pipe so they would sit flush.  I then welded them to the nut/pipe section.  


I then used Rust-oleum Hammered Bronze paint to paint the pieces.  


For the seat I used a nice thick piece of walnut I had been saving for a few years.  I cut it to size, shaped the seat slightly so it would be more comfortable to sit on, sanded progressively lighter, and then used a satin spray lacquer for the finish, 6 coats.  


Once it was dried I then attached all the pieces together and here is the finished stool:


The Desk:

The dimensions she wanted were, 42" wide x 26" deep x 30" tall.

I started with the frame.  I used some 1"x2" steel tubing.
I didn't show the steps in making this but it was pretty straight forward.  I made the sides first, 45 degree angles welded.  I made a jig so that these would be exactly square in case my cuts were a bit off as can happen with a chop saw.

The welded base:


Next I began work on the top.  I had some wood that I originally used on a TV cart but I didn't like the cart that much so I tore it apart.  It was old oak, over 100 years, that was used in a families homestead that I had picked up a few years back.  

The failed table:


I ran the wood through a planer and jointer and then cut it to size.  I biscuit joined and glued each edge and then clamped for a few days.  


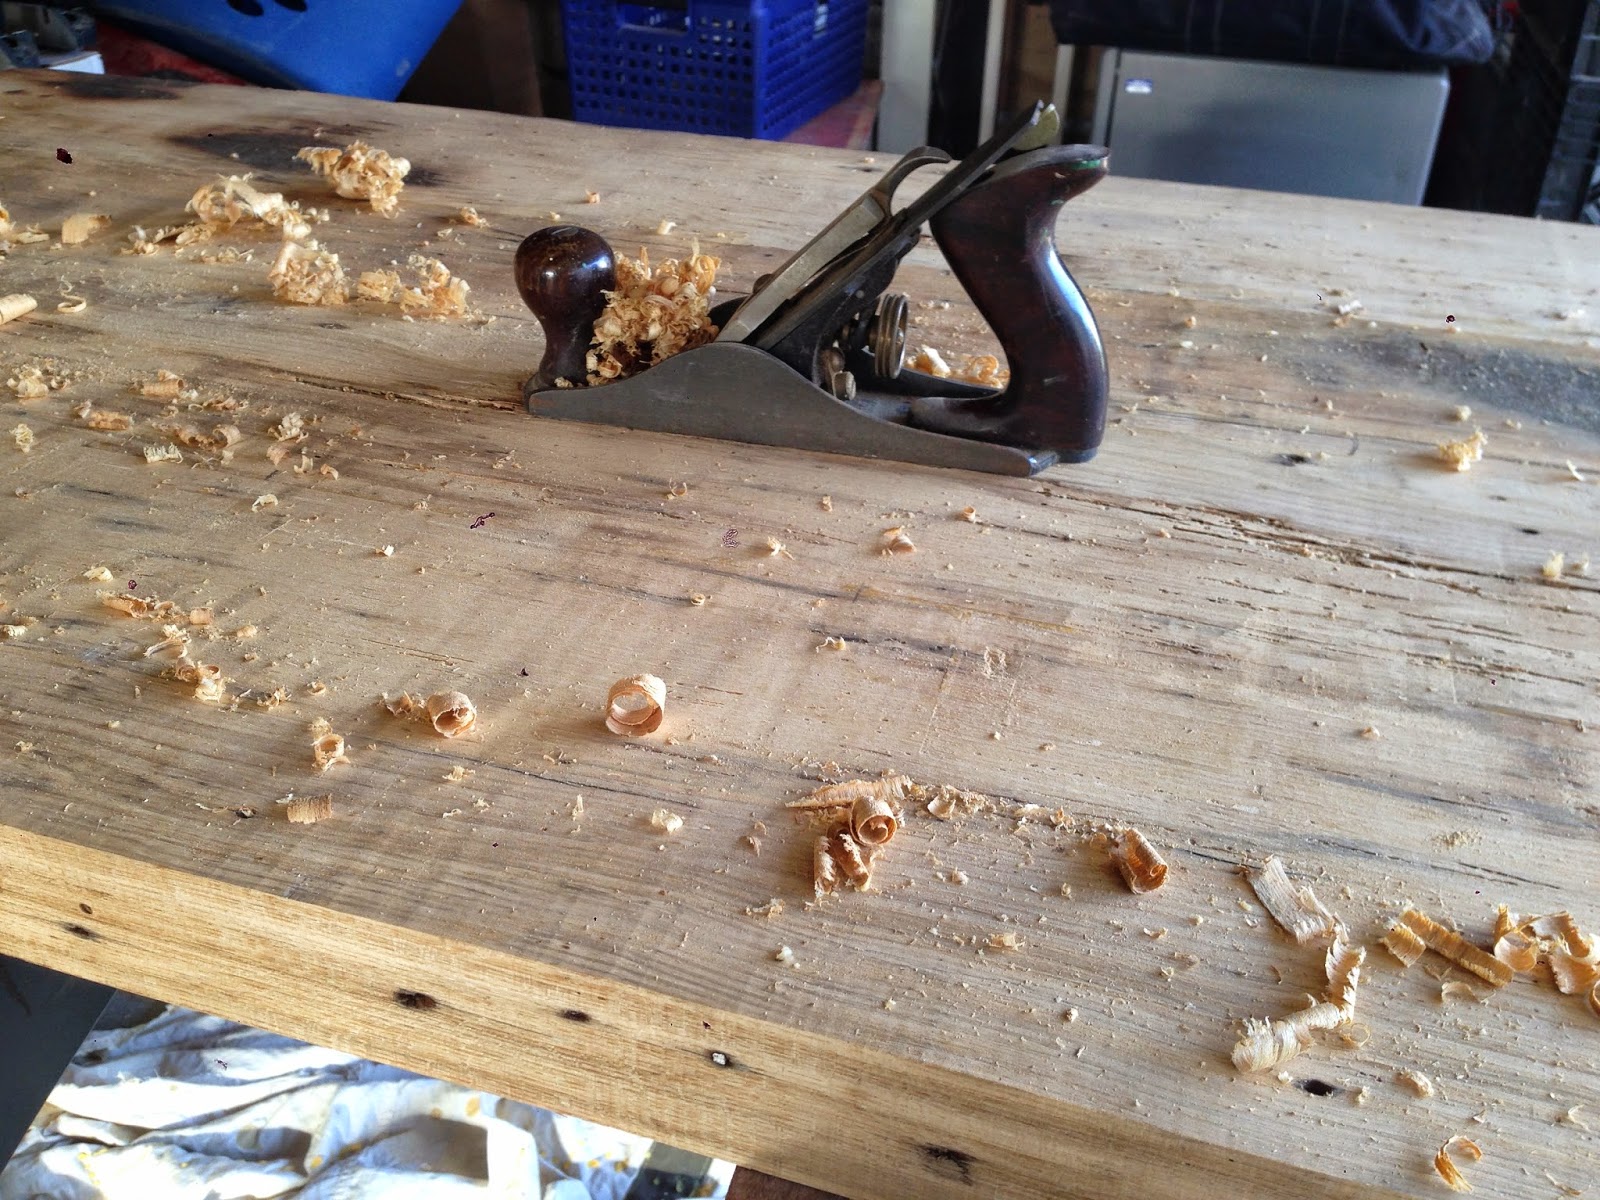
After it had dried I removed the clamps and then did some hand planing.  


Since this was going to be a desk I filled all the old nail holes and gauges with Elmer's sandable wood filler and let it dry.

I then sanded with a power sander with two different grits then moved on to sanding by hand with two less aggressive grits.  

I used a Rust-oleum walnut stain, let it dry, lightly sanded, and then applied the same satin spray lacquer as a finish, 6 coats.


For the drawer I found what I thought would be perfect.  I was at an antique store and found this crate:


This was perfect as the boys name is, Carter.

I installed this to the bottom of the desk with some drawer slides.

The finished products:


Tuesday, February 25, 2014

Vintage Window Coffee Table

A while back some good friends of my wife and I asked if I would be willing to build them a coffee table for their home.  They had seen one they liked that looked like the following.  I was happy to do this for them.


  They had two items that they were hoping I could do.  They wanted it to be black and have legs that were sturdy and a bit thicker than what is on this table.

I began my search for the perfect window.  About six antique stores later I found this beauty at a great price.  


First I needed to get the window all cleaned and prepped for paint.  

I had to remove all panes, scrape (using a mask of course), and then glue a few spots.


The next part would be to make the box, bottom of the box, and the base.  I had some wood laying around that would work for these pieces.  Some old 2x4's, 4x4's, and old tongue and groove wall paneling of different widths.


The box build was simple; 45 angles glued, nailed, and then 1/4" dowels to add strength.  I made the box 1/4" narrower on each side so the window would stick past that distance all around.


For the bottom of the box I used old paneling with tongue and groove.  


The base was built out of the 2x's and 4x's notched then glued and screwed together.  


With the box and base built and the window cleaned up it was ready to paint and stain.


For the paint I used Valspar's paint and primer, black flat, and then finished it off with about six coats of Deft Clear Wood Finish.  The Deft is a really nice product that leaves a very nice finish and it is fast to dry which helps in getting multiple coats on fast.


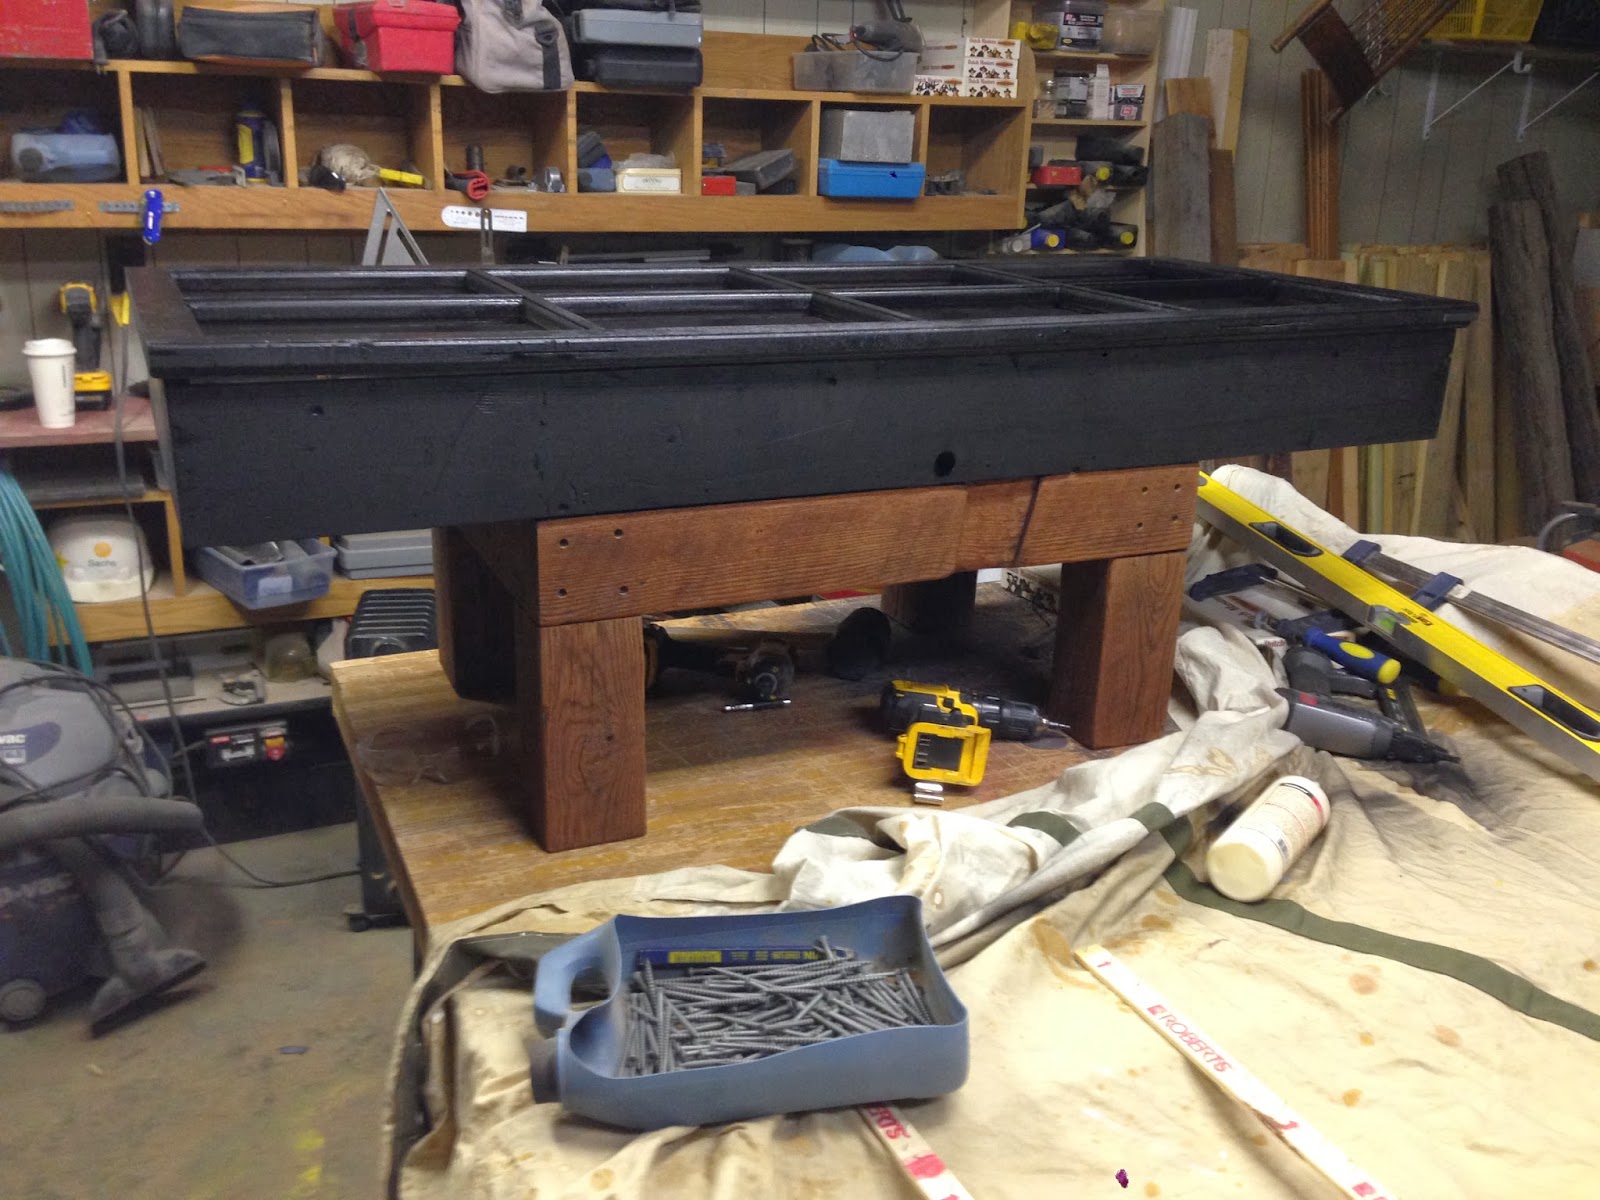
I was now ready to dry fit the pieces together.


Sometimes projects don't turn out like I expect them to, this was one of those times.  I didn't like the base at all.  It was too small and just didn't have the look I was going for.  

Back to square one with the base.

Instead of using reclaimed wood on the base I bought some aspen wood.

Once again it was a simple construction; glued, nailed, and a few screws.


This time I made it the same dimensions as the box and added a slat shelf for putting books or blankets on.  


I finished painting and adding the clear finish to everything.


In order to make this table safe for the home I removed all the glass panes and replaced them with tempered glass.


To replace window panes is pretty simple but does take some practice to make it look good.  Mine could use some more practice I think.

First put all the panes in the window.  Next insert glazing points on each pane.  For my size panes I put two on each side. 


After the points are put in next is the glazing.  This is the part that takes a little practice.

I used DAP 33 glazing.


To glaze a window first take a chunk of the glaze and roll it in your hands to warm it up and then start to make a long worm out of it.  

Lay that all around the edges of the window pressing it down then using a blade at an angle cut off the excess.  

If done right this should leave a nice angled glazing.


Next I inserted adjustable feet into the legs so it could be leveled if the floor was a bit uneven.  

It is real easy to do this.

Drill the holes to the correct dimensions.


Next remove the screw thread from the plastic then lightly tap the plastic in to the leg.


All done with the feet.


And now all done with the table.


Here it is in the home being filled with special items from trips our friends have made.